Radiance Interiors - Architecture Photography Project Highlight
Bright and early, I arrive on-location meeting the marketing director and lead project architect from Iconica. We’re photographing Radiance Skin Therapy & Laser Center in Madison, WI. The space, formerly occupied by a restaurant, has been completely transformed through beautiful design and quality craftsmanship. The crew and I tour the space and build our shot list for what will get photographed. I see beautiful, bright walls, matte black accents, color gradients, an Andy Warhol selfie wall, captivating art, and countless other design elements that have all been brought together to create a welcoming, sophisticated space.
Among the beauty, I also see a number of photographic challenges. Mixed lighting temperatures from the morning exterior light and the warm interior lighting, some heavy back lighting in certain areas, odd reflections in reflective surfaces, and drop-offs in natural light between main lobby areas and hallways, to name a few. These types of challenges present themselves in many interior photography projects. Having an understanding of the entire creation process from production to editing helps the photographer decide the best course of action to address these issues in producing the highest quality imagery for the client.
View the gallery of finished images below, and be sure to check out the before-and-after sliders that compare the images shot on-location to the final images after retouching.


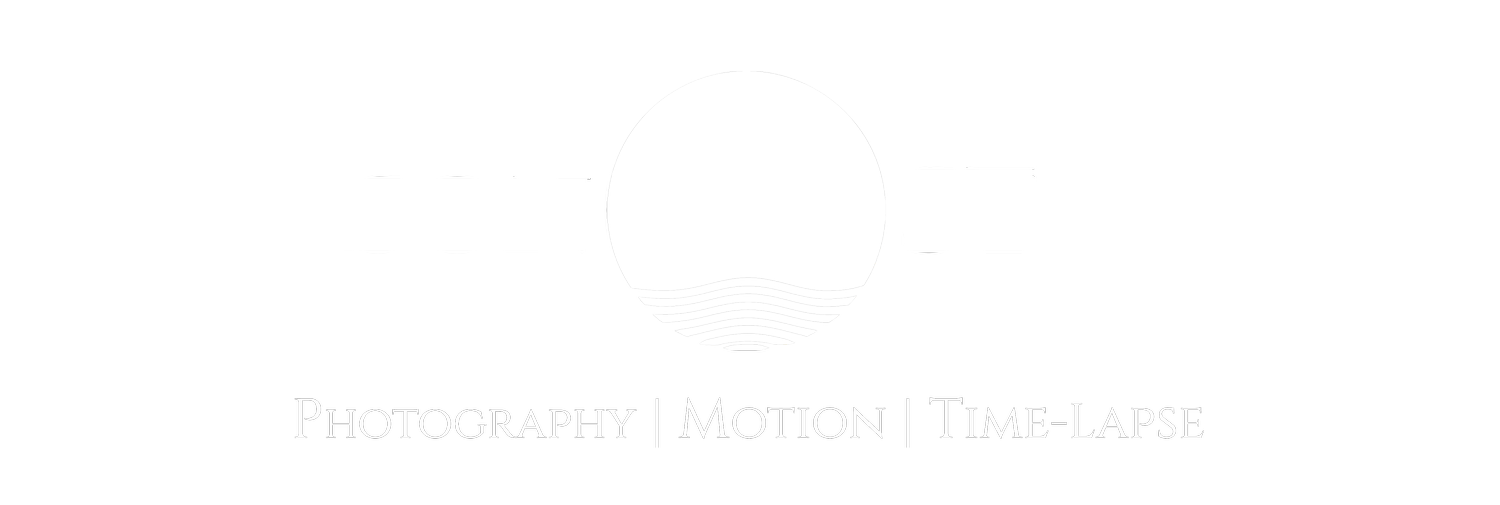
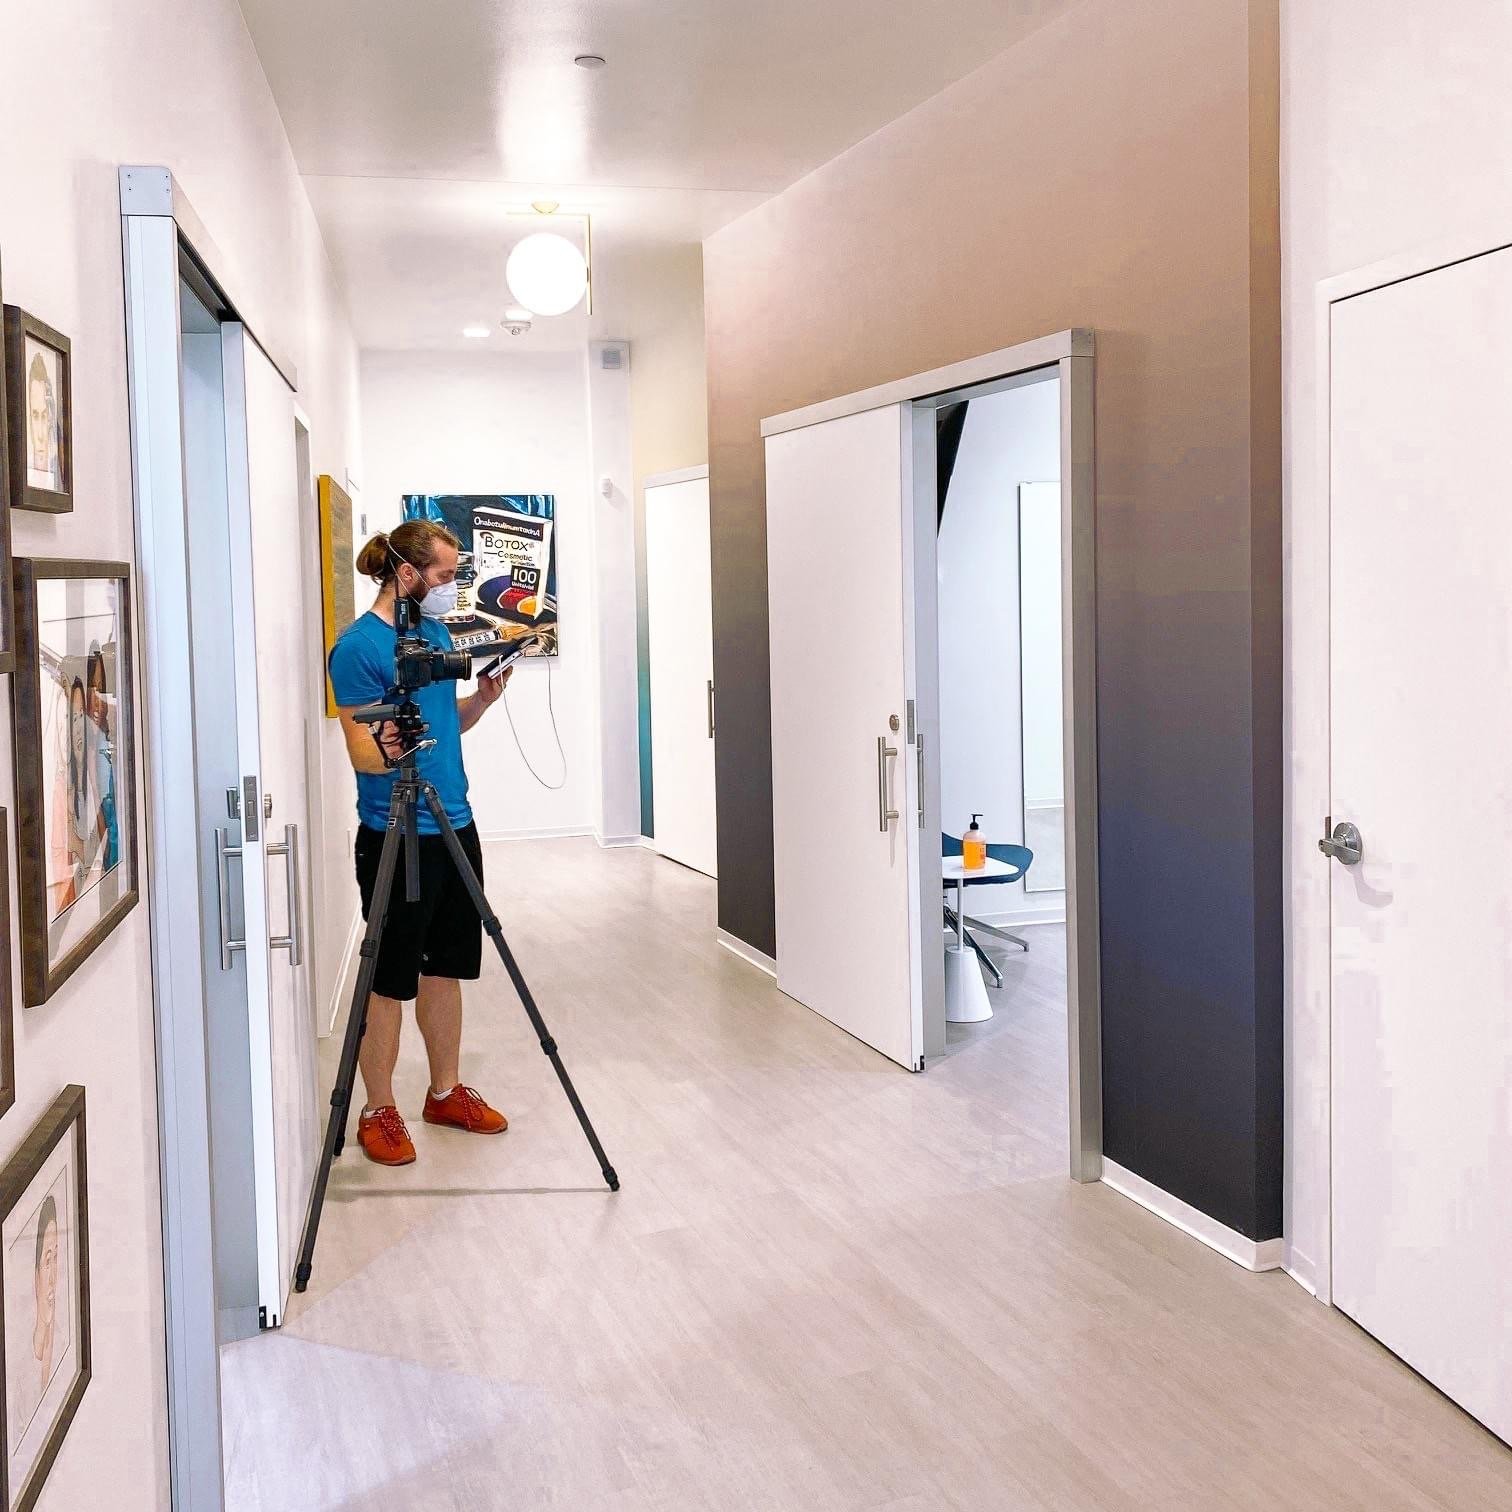
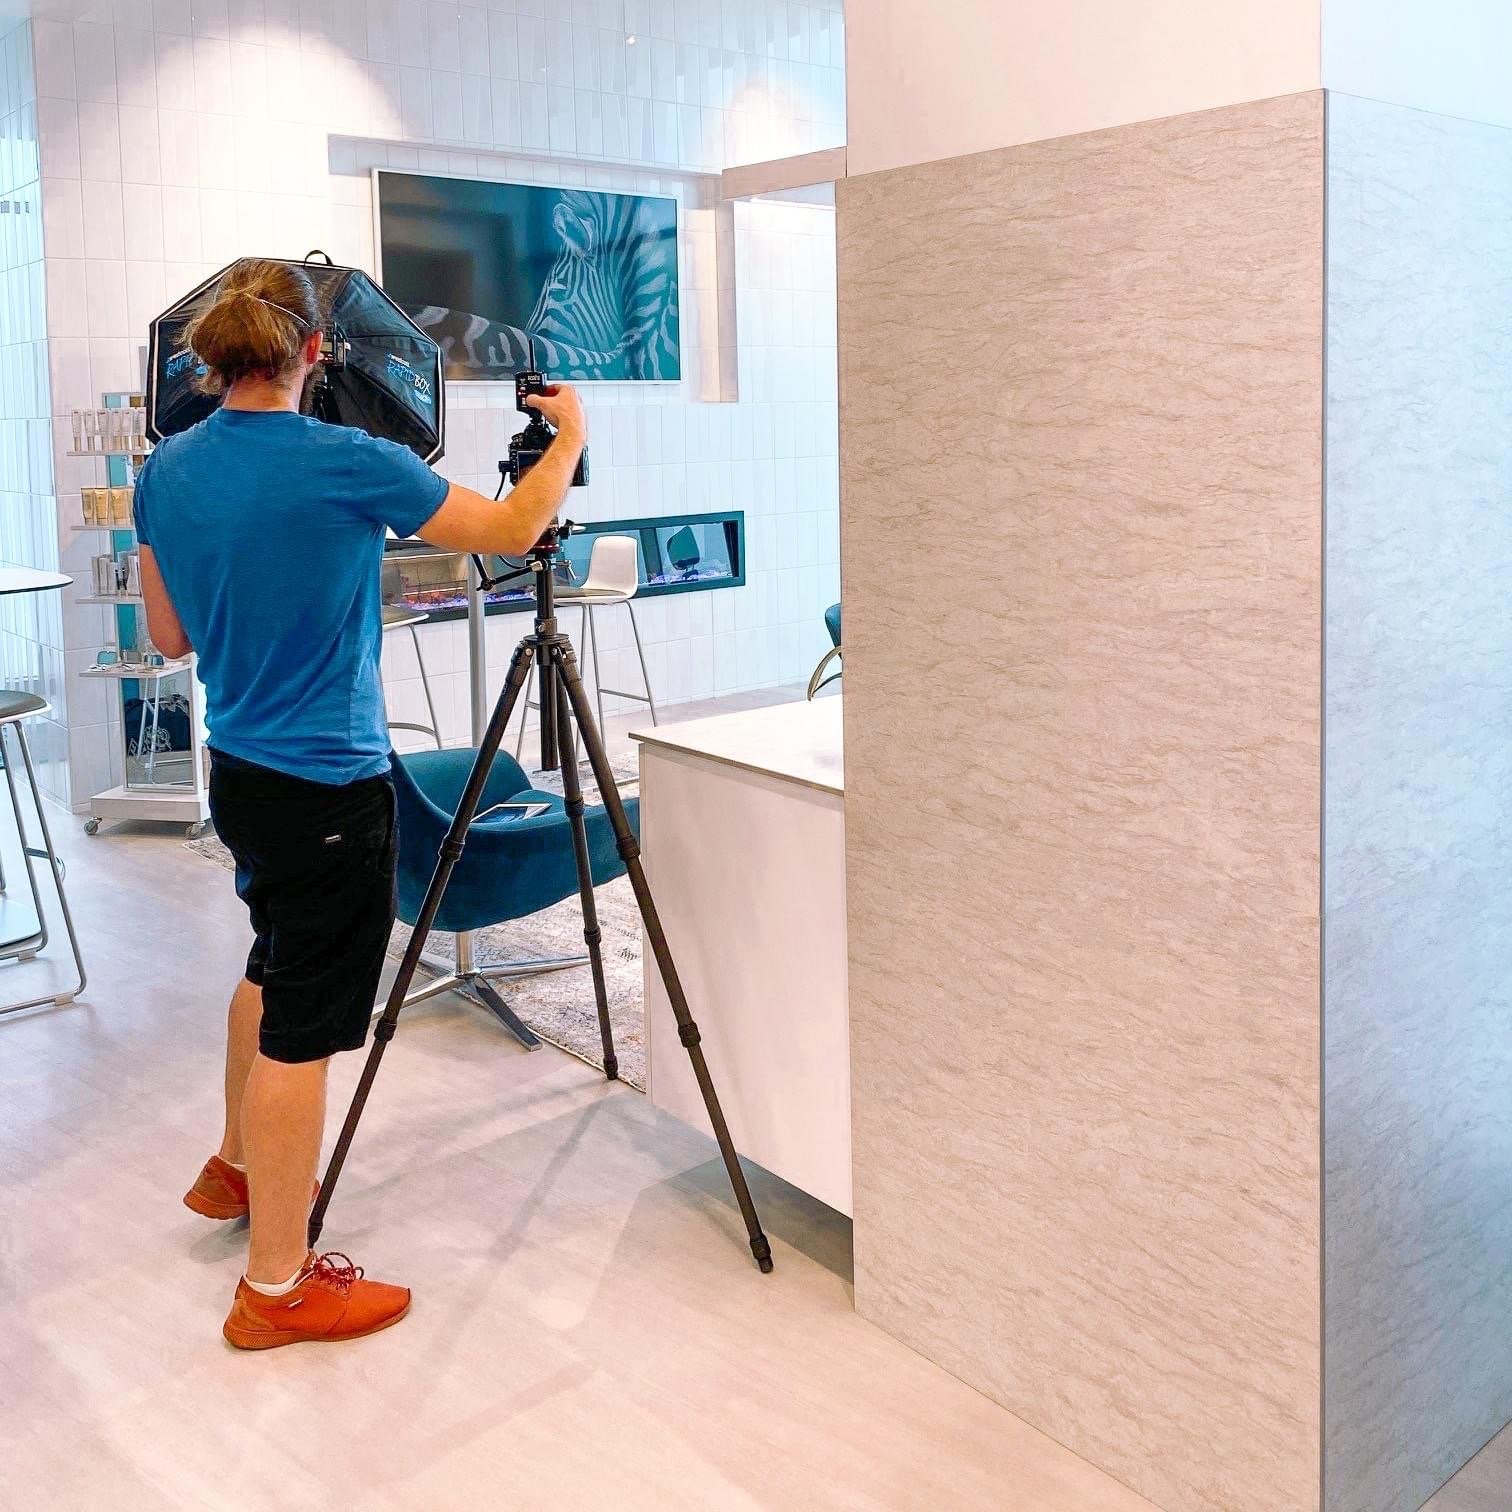
being on production
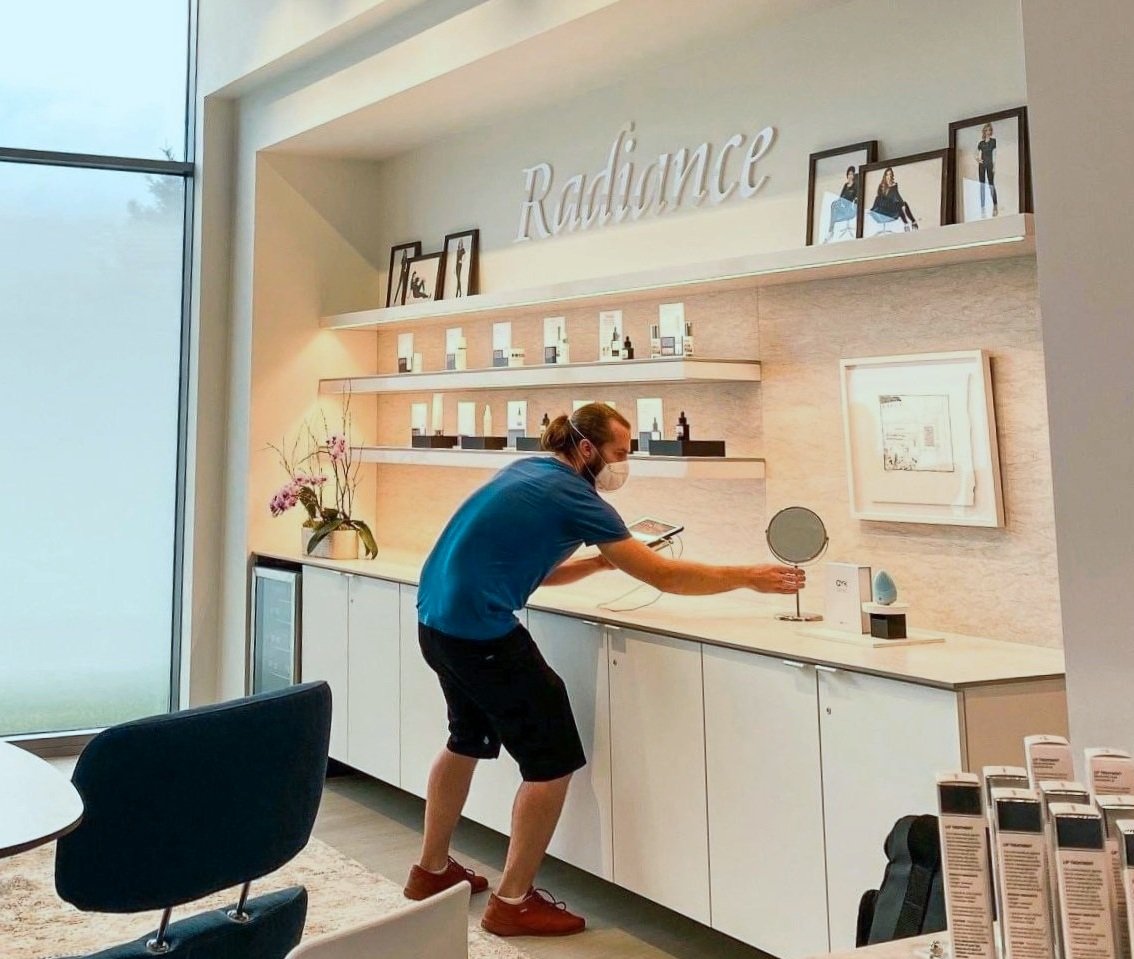
A photography production shooting architecture and interiors is a fairly slow and thought-out process. Compositions are carefully found by moving through the space, shifting a few inches this way or that. When shooting with tilt-shift lenses, we have specific focal lengths that frame our shot, so moving forward or backward to include/remove elements, or shifting the lens directionally, even to make a stitched panorama like the lobby image shown at the top of the post, are the best options for maintaining the perspective of the space and showcasing it’s true form.
Almost always, an interior space has too much stuff in it for photographic purposes. Once our composition is found, the decluttering phase happens and we remove what is not necessary, including furniture, decorations, cables, office supplies, products/appliances, etc.
I always shoot tethered, either to a tablet or laptop, so the client on-site can see what I’m doing in real-time. I provide a few options for compositions and talk them through the creative process and my vision for the final image.
Images of photographer taken by Blake Sabatke
before and after retouching
We come back to the holistic approach of creating beautiful and emotive architecture and interiors photography, where the vision is captured in frame while on-location, along with all the elements, layers, and extra materials needed to compile the final image during editing and retouching. Take a look at the before and after examples below. Notice what distracting elements are removed, how dynamic lighting is tamed to bring back lost detail, how color is balanced to keep the image from feeling disorienting. All first considered while pressing the shutter button on production.
If you have a project here in Madison, Milwaukee, Chicago, or anywhere throughout the US that you’re interested in having photographed, send me an email and let’s talk. I’m always happy to lend my insight and creative approach to aid in your marketing efforts.
If you’re interested in seeing more behind-the-scenes from my architectural photoshoots, check out these posts:
